Template (Beta)
Introduction
The Template (Beta) tab has a similar functionality to the Template tab. It allows convenient sweeps of an input file through the use of variables. In comparison to the standard Template feature, the Beta version allows nested sweeps of multiple variables. Its use is intended for experienced users who need to investigate their structure in complex dependency of more than one variable.
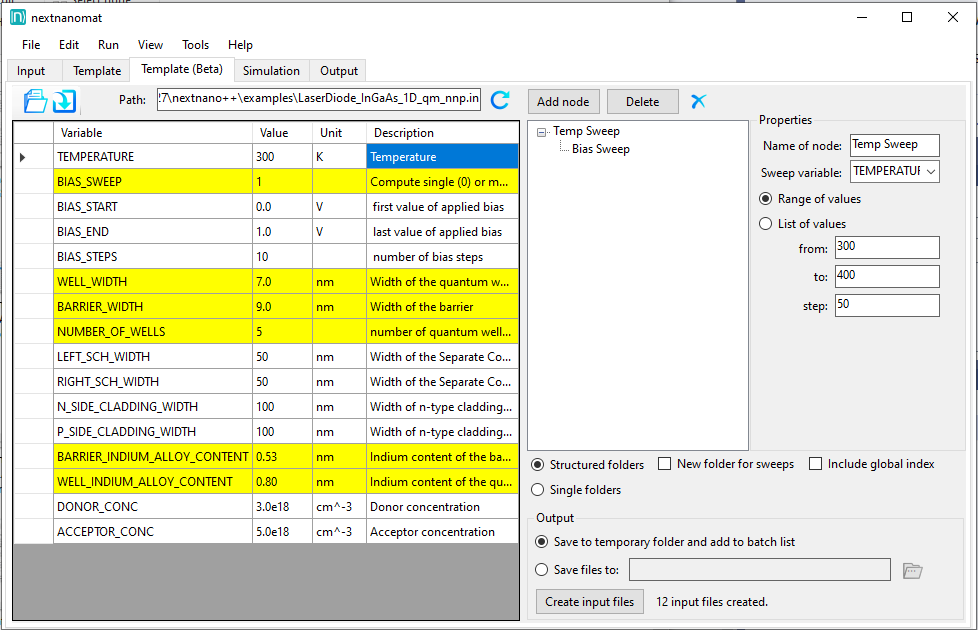
Figure 1.1.10 Full view of the Template (Beta) tab.
The input file
Any input file, which contains variables, can be used. At least two variables should be defined to use the full functionality of Template beta. Different options are provided to load an input file. It can be imported from the currently active input tab, searched within the file explorer or by inserting the path. Once opened, the defined variables should be shown on the right hand side. If changes to the file have been made by/with an external application, it can easily be updated through the reload button.
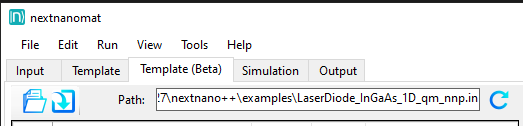
Figure 1.1.11 Menu to load and update the template file.
How to create a sweep
Follow the next steps:
(If the white panel is empty, click on the Add node button.)
Select the node New Sweep.
In the property panel you can define the parameters for this sweep:
Choose a variable (e.g.
$TEMPERATURE).Set a correlating name for the sweep (e.g. “TempSweep”, Figure 1.1.12).
Select List of values or Range of values and define the values for the sweep.
To add a second, third etc. sweep, repeat the steps above.
To create a nested sweep, select a parent node before clicking on the Add node button. The new node will be nested below the selected one. (e.g. “BiasSweep”, Figure 1.1.13)
If no node is selected, the new sweep will be on the same level and they will not be correlated to each other.
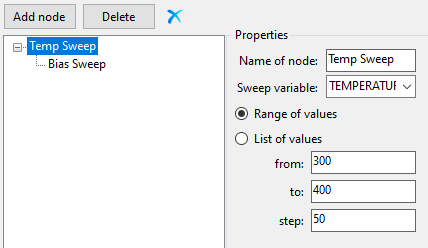
Figure 1.1.12 Parent sweep
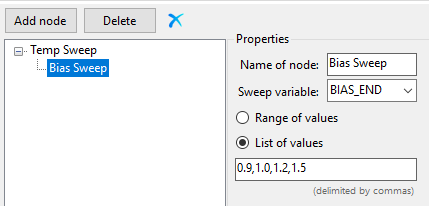
Figure 1.1.13 Nested sweep
Save input files and run a sweep
In this example we use three different temperature values and a nested bias sweep with four different bias values for each temperature (see Figure 1.1.12 and Figure 1.1.13). Thus 3x4 = 12 different input files are to be created. Each input file receives the name and the values of both sweep parameters for identification.
Before running the simulation, there are different options for the simulation output:
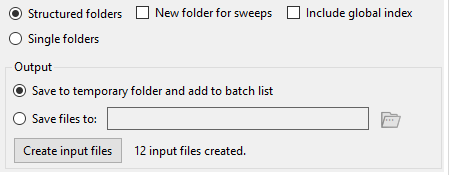
Figure 1.1.14 Output options
Either the option Single folders or Structured folders can be selected. The first option generates one unique simulation output folder for each input file (ergo, for this example separate 12 folders, see Figure 1.1.15), whereas the structured option generates nested output folders matching the sweep structure. For the structured option a global index can be included which enumerates each sweep (Figure 1.1.16). And/Or a parent folder - for each sweep - can be added (Figure 1.1.17).
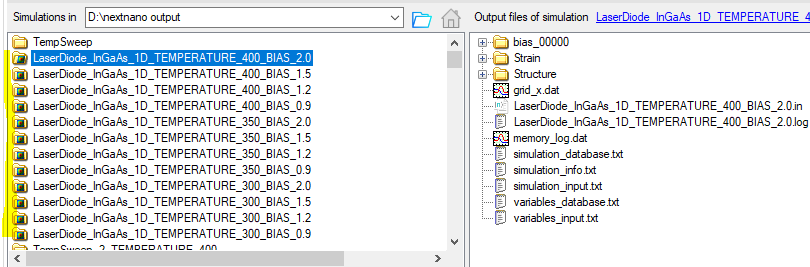
Figure 1.1.15 Output option a - Single folders.
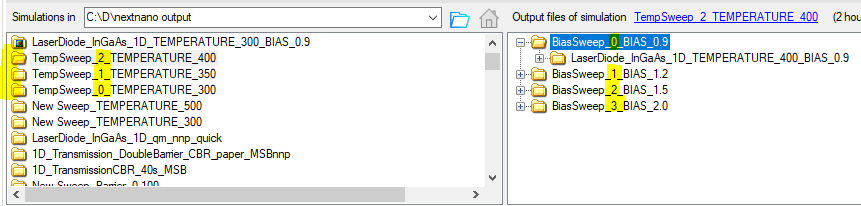
Figure 1.1.16 Output option b - Structured folders plus global index.
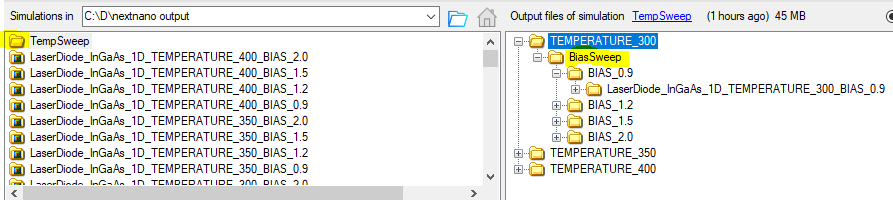
Figure 1.1.17 Output option c - Structured folders plus parent folder.
Lastly you can choose whether you want to create the input files only temporary to directly execute them or if you want to store them on the disk for later use.
After setting all your output preferences, click on the Create Input files button.
You should see a confirmation after your input files are created successfully: 
Next, go to the Simulation tab to find the created input files and execute them.
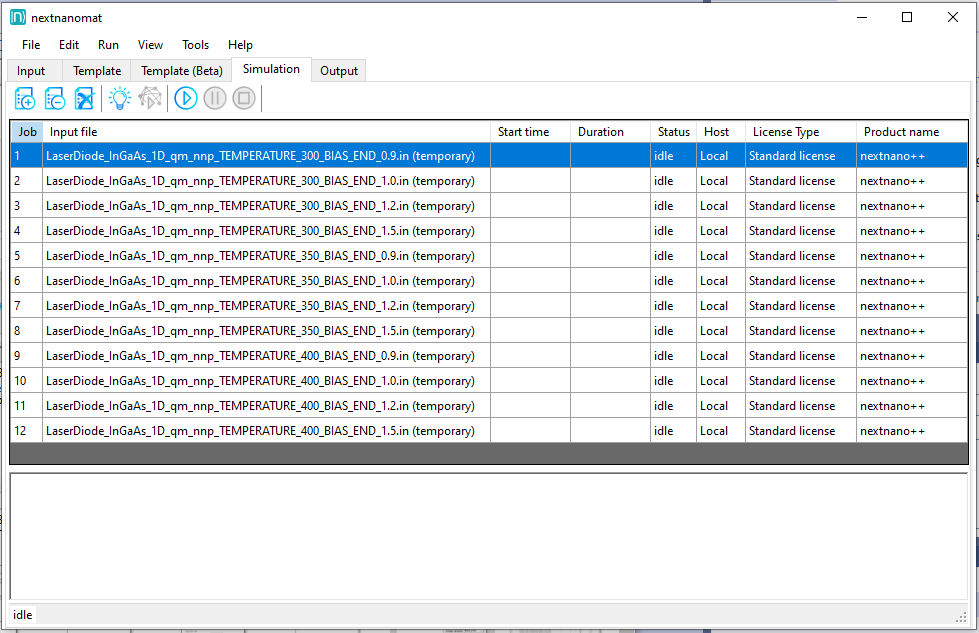
Figure 1.1.18 Created input files in simulation tab.